Sponsored by Eagle DTF Print.
The Saturday pop-up is booked. You have a table, a logo and a rough idea of how many people might show up. The next decision is how many shirts to put on that table and how late you can leave the order. A short production plan can help a neighborhood shop, coffee roaster or independent maker offer something people will want to wear without carrying boxes of unsold stock home.
Start With the Table and the People
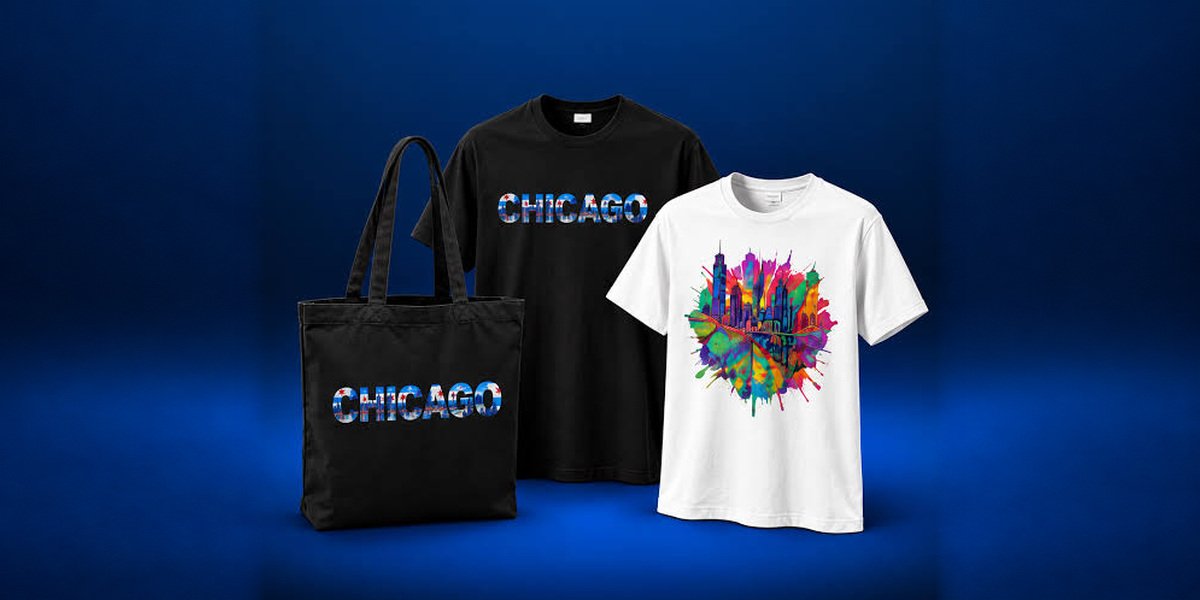
Choose one design that makes sense for the event. A neighborhood illustration, a store anniversary graphic or a familiar icon can give visitors a reason to pick up the shirt. Select a garment color that works with the art, then work out how much room the display leaves for back stock. Ask the organizer about attendance and use your own sales history when you have it. For a first run, a modest quantity gives you room to learn which sizes and colors people actually ask for.
Keep the display sample separate from sellable stock. Write down the opening quantity by size and mark the remaining units during the day. A tally of requests for missing sizes is useful when you plan a reorder, since the sales count alone misses people who left without buying.
Work Backward From the Doors Opening
Set a deadline for artwork approval, the blank garments, the transfer order and the final press check. Leave time between production and packing so there is room to fix a crooked placement or replace a damaged blank. If a printer and a separate decorator are involved, share the same file version, print dimensions and delivery time with both. One person should own the final sign-off.
Businesses sourcing transfers for the Chicago area can review Eagle DTF Print’s Chicago-area transfer options. The company offers local pickup in Arlington Heights and asks customers to wait for a ready email. Check the current production cutoff and confirm when the order will be ready before setting a pickup time or promising a deadline.
Press a Sample and Inspect It at Normal Distance
Put the design on one of the blanks you intend to sell. See how it reads from across a table and on a person. Check whether the design is centered and whether fine lettering is still clear. If your run spans several garment sizes, compare the smallest and largest blanks before choosing one print width for the whole batch. Follow the transfer supplier’s application instructions for your material and equipment.
When the sample is approved, record the artwork version, shirt style and placement. The approved sample gives everyone the same reference when the next batch is pressed.
Pack for a Quick Count at the Booth
Bundle the shirts by size and label each stack where a volunteer can see it. Bring a simple count sheet and a pen, especially if the payment system records sales without garment sizes. Make the return policy and care instructions easy to find. These small steps keep the checkout line moving and make it easier to reconcile stock after the event.
Make the Next Run Easier
At the end of the event, record units sold by size, requests for sizes you did not carry and comments on the fit or artwork. Write down how much time the run took from final approval through packing. Those details will help you plan a reorder and decide whether a second design deserves a place on the table. A useful first merch run gives you a product to sell and a clearer estimate for the next Chicago event.